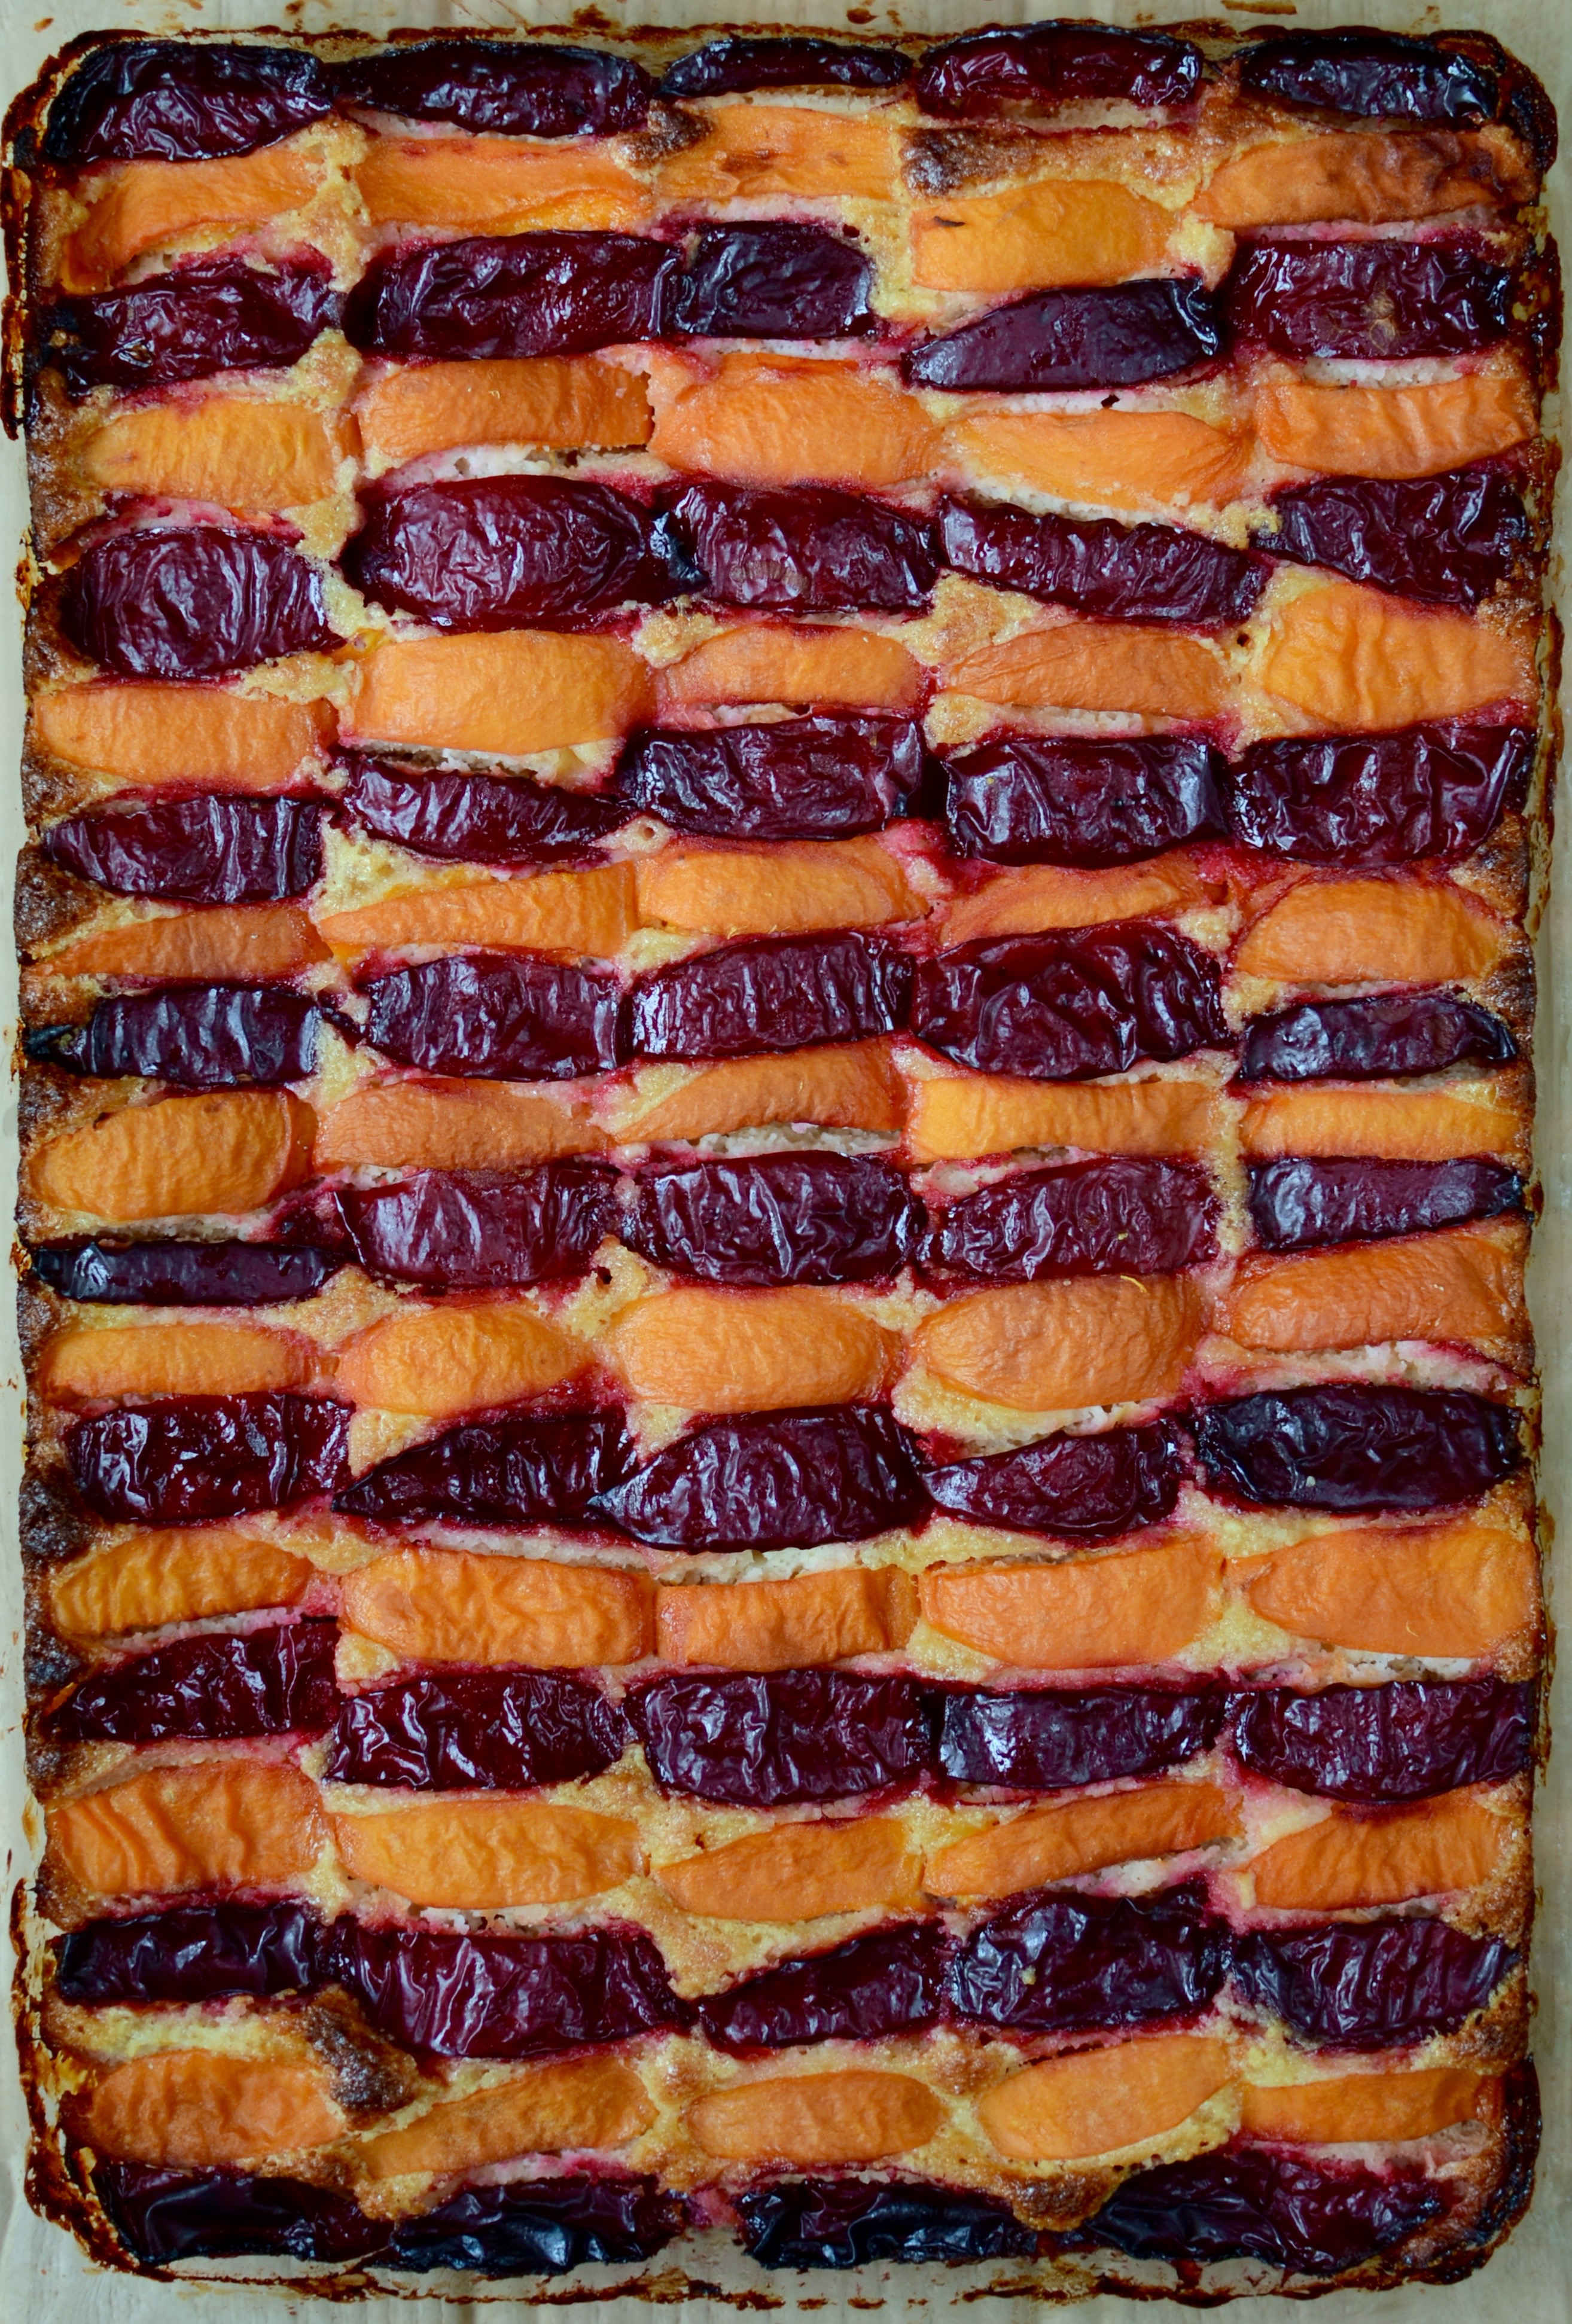
Stone fruit slices
The memories of my primary school years are punctuated by gloriously colourful events, much-loved traditions, lessons learnt the hard way, meaningful moments… And Maike’s mum’s weekly apricot tray bake. It will forever crop up in my mind as the most delicious treat anyone could wish for. It perfectly captured the balance between soft and chewy, tart and sweet. And it looked and tasted like the summer sun.
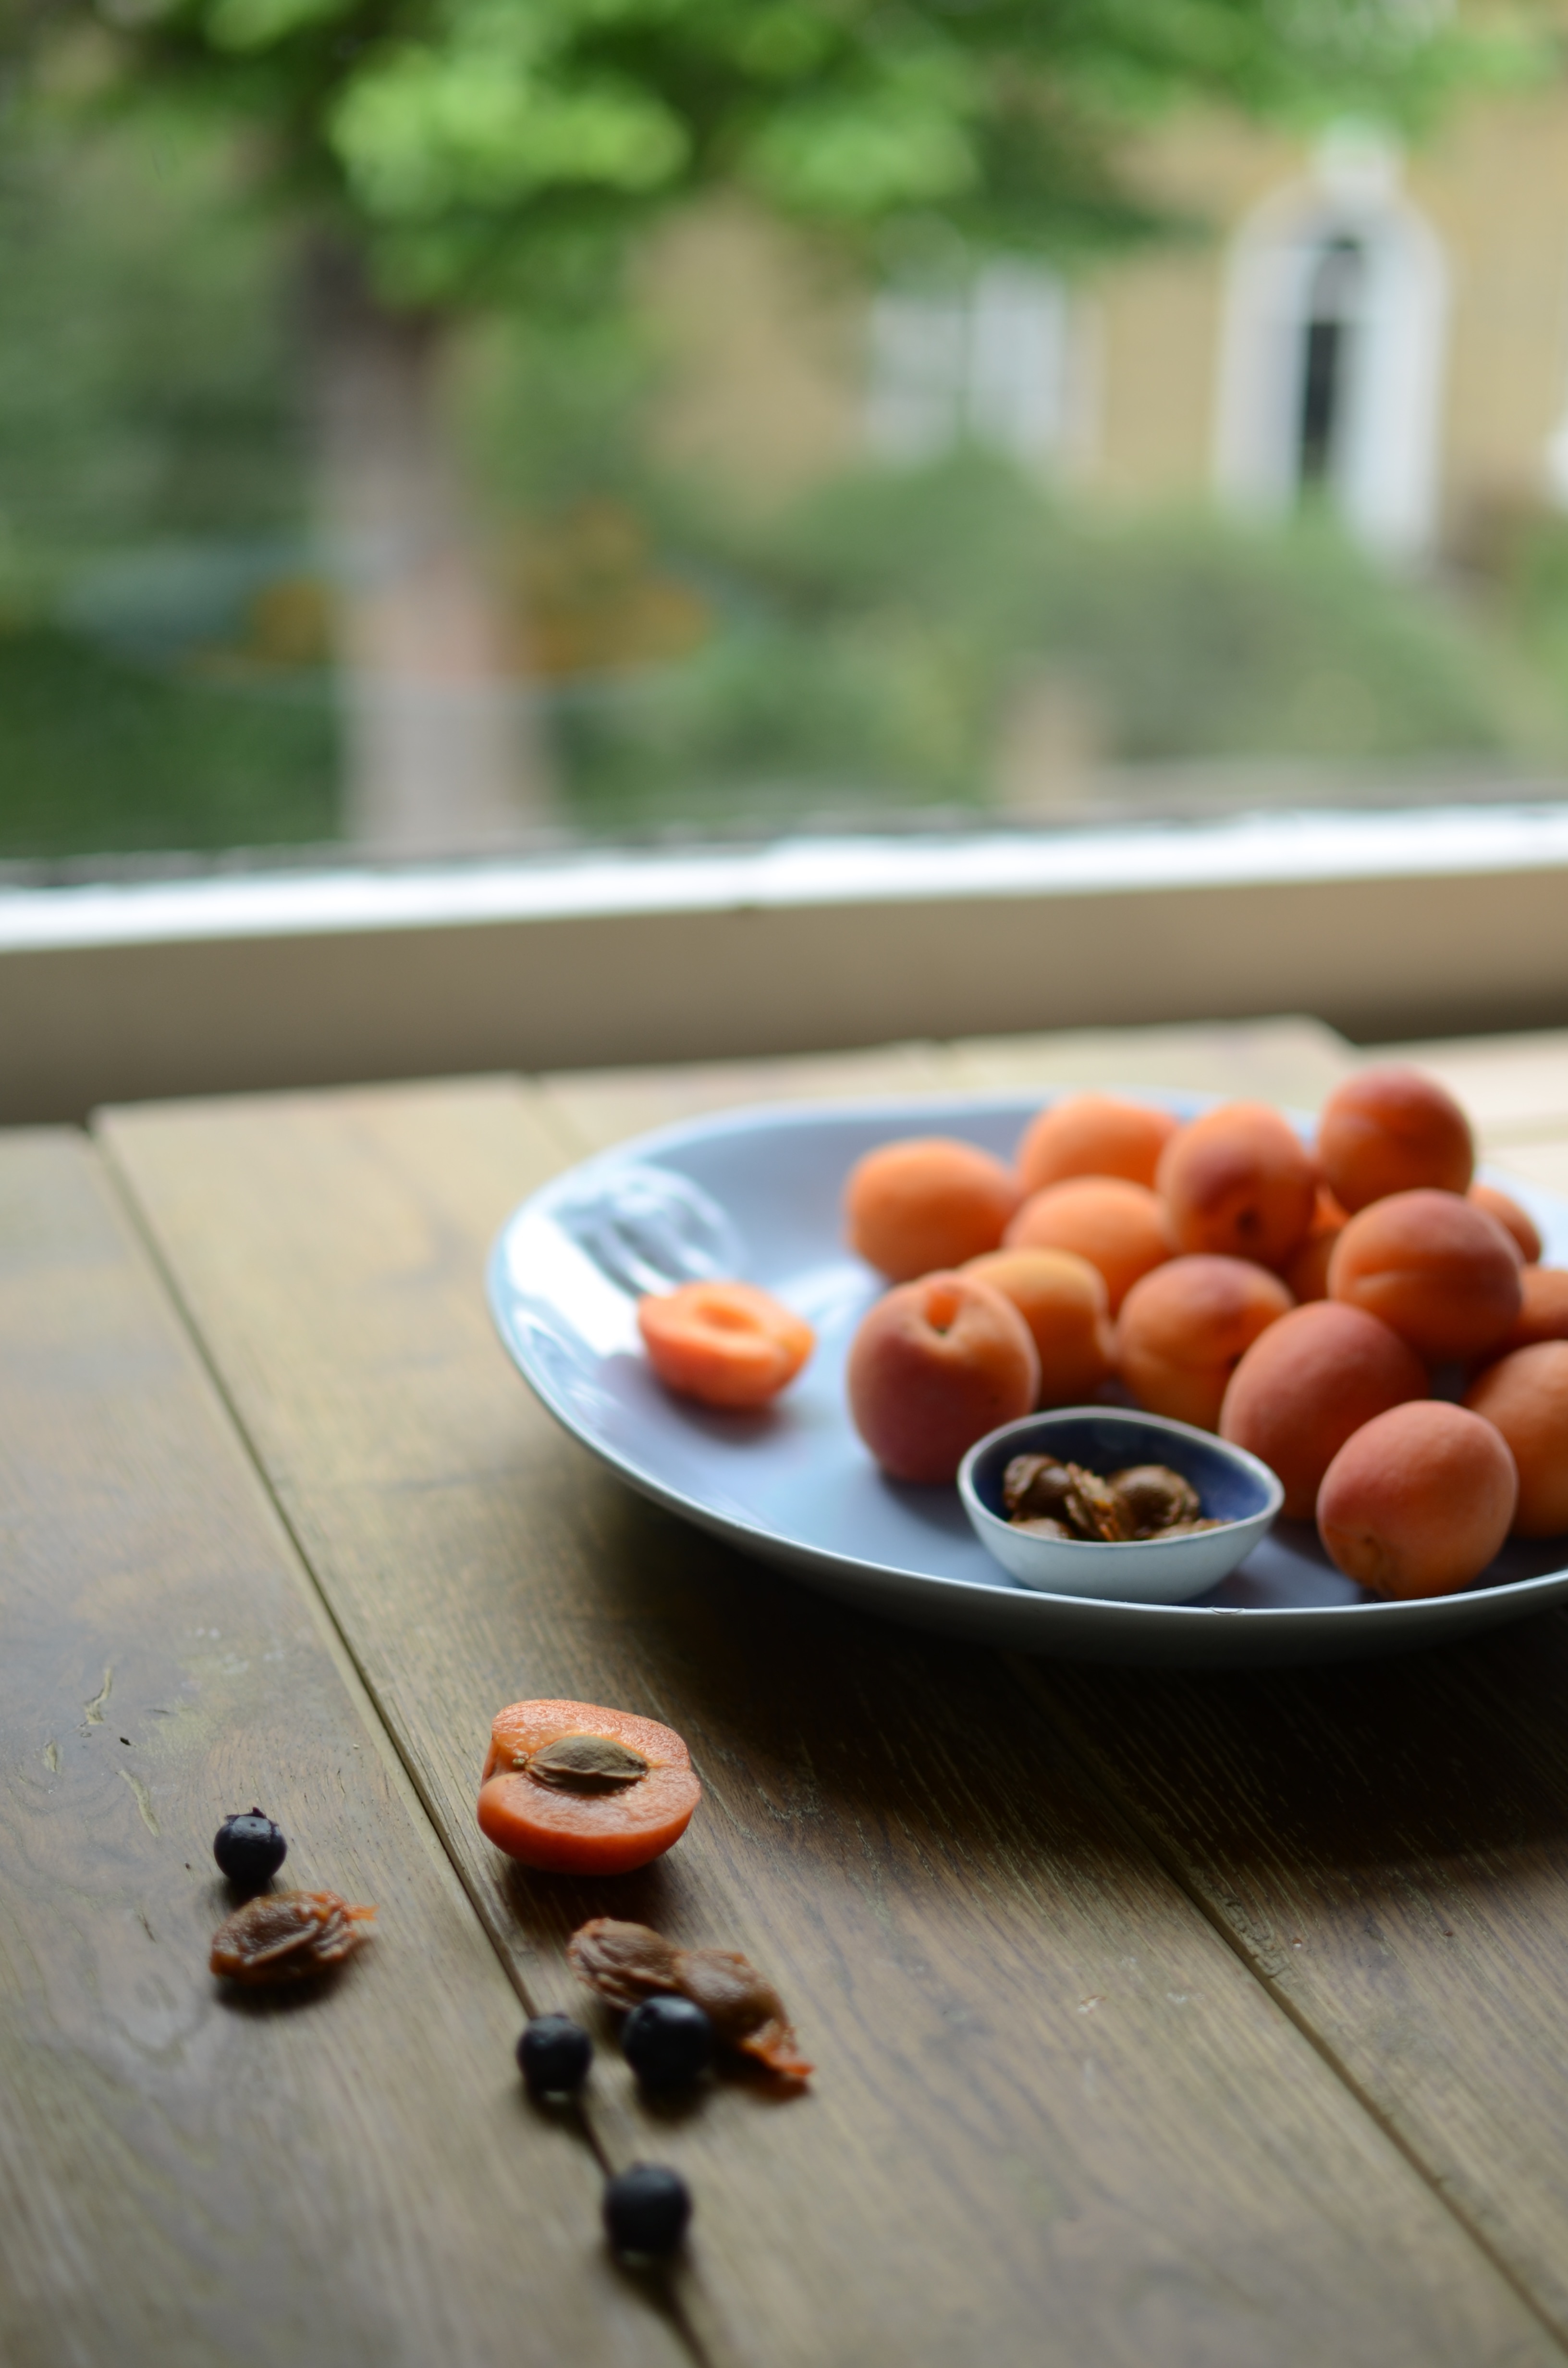
Rather than being a cake, this recipe really is more of a nutritious snack that I happily give my children after school and help myself to during busy mornings catching up on admin and work. The end result relies to a large extent on the taste and quality of your fruit, but even so, it is a good way to use up over-ripe, squooshy apricots and plums.

Stone fruit slices
Ingredients
3 medium eggs, at room temperature and separated
80ml (1/3 cup) oil (coconut oil, macadamia nut oil or melted butter)
80ml (1/3 cup) honey
1/2 teaspoon good quality almond extract
pinch of sea salt
finely grated zest of 1 lemon
230g (about 2 1/3 cups) ground almonds / almond flour
750g large apricots and small’ish plums (about 6 of each), halved, stones removed and sliced into eighths
Method
- Whisk together the egg yolks, oil, honey, almond extract, salt and lemon zest.
- Stir in the ground almonds and set aside.
- Preheat the oven to 180°C/360°F.
- Whisk the egg whites to firm (but not stiff) peaks, and gently fold into the almond mixture.
- Spread this mixture out in an even layer in a greased ovenproof baking dish (about 30 x 20 cm).
- Place the fruit slices skin-side up as close together as possible in the thin layer of batter – alternating the fruit as you go along. You could also use apricot halves only, which would be much quicker and easier, but not as pretty.
- Bake in the oven for 30 minutes, then turn the oven off and leave the cake in the oven for another 15 minutes, before removing and allowing to cool.
- Cut the cake into squares in the dish, then carefully slide an offset spatula under each row to carefully lift them out.
- Store in the fridge for several days or freeze.
Leave a Reply